The first day the output was 6.01 KWh.
The second day the output was 5.6 KWh.
The tracker is working with no problems other than it was tracking slightly ahead of the sun. I had to make a few adjustments and all is well. The parking feature works wonderfully. I highly recommend the Redrok sensor/controllers. So far, I am very pleased with the tracker. Best of all this increased my total daily output by 25 %.
Tuesday, September 28, 2010
Saturday, September 25, 2010
Up and Running (09/25/2010)
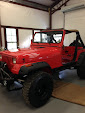
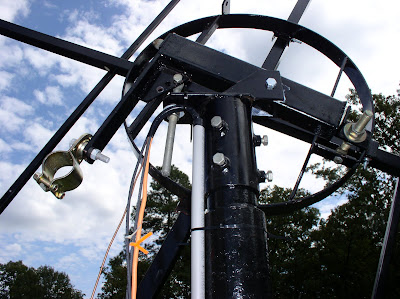
A view of my solar tracker and the roof mount that I did last year. 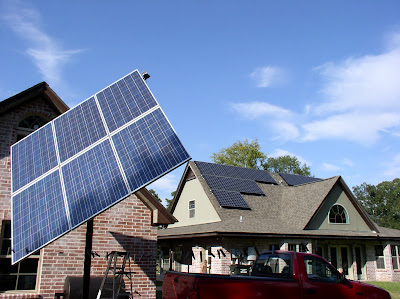

This photo is to show the tracker sensor/controller and how I set it up on the tracker. The housing is made from acrylic that was heated to form the lens shape. The body of the housing was made from a 4x4x4 junction box that was modified to fit the curved lens. Duane's sensor from www.redrok.com was used to control the linear actuator.

The traker is just doing what it does, Track the sun and make electricity that is inverted to AC electricity that is backfed into the grid.
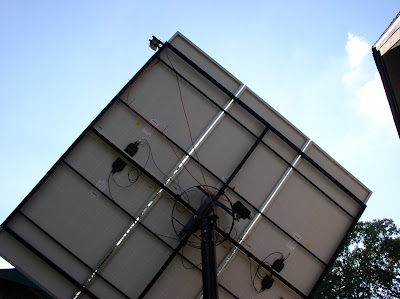
Just so you can see how I wired the panels and sensor.
 A view from the back of the panels
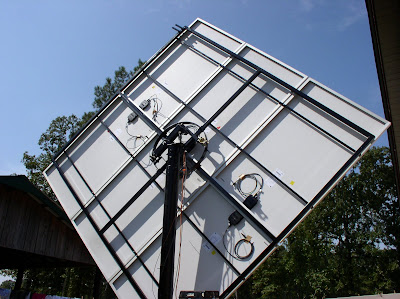
Another view

All 6 panels now attached


This photo is to show the tracker sensor/controller and how I set it up on the tracker. The housing is made from acrylic that was heated to form the lens shape. The body of the housing was made from a 4x4x4 junction box that was modified to fit the curved lens. Duane's sensor from www.redrok.com was used to control the linear actuator.

The traker is just doing what it does, Track the sun and make electricity that is inverted to AC electricity that is backfed into the grid.

Just so you can see how I wired the panels and sensor.
 A view from the back of the panels
Another view

All 6 panels now attached

Today 9/252010 I completed the installation of my solar grid tie tracker. It works very well. Duane's tracker works great. You can get this from him at http://www.redrok.com/. It we entertaining watching the panels track the sun. Check out the rest of the build photo's
Friday, September 24, 2010
Good Work Today
I decided to make my own sensor/controller so I came up with this idea, I do not know if it works or not so don't duplicate this until I test it. Basically it is a 4x4x4 junction box, ($10.00 at Home Depot). I wanted a curved lens so I cut a piece of my acrylic and placed it in the oven at 250 degrees for about 10 min. The sides were supported but not in the middle. It bowed in the middle like you see in the photo. It was super easy and worked fine.

I traced the radius of my bowed acrylic and cut it out on my bandsaw. I was careful to leave some screw contact boss in each corner.

Hey what do you know, that looks pretty good and best of all it is plastic and will not ground out the sensor as recommended by Duane at Redrok.
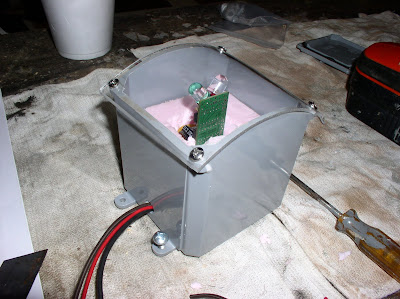
I used some rigid foam to secure the sensor in the cover, works great. Be sure to orient the sensor as Duane describes. I also drilled 2 small holes in the bottom of the sensor for condensation drainage, here in Louisiana we have no shortage of humidity. I hope it works

I wanted a clean mount and I utilized the posterior mounting holes in the inverter. Nice and clean.

Just a view of the wiring fed through the ground to the panels.

Doing what I do the best! Dig with a shovel.


I traced the radius of my bowed acrylic and cut it out on my bandsaw. I was careful to leave some screw contact boss in each corner.

Hey what do you know, that looks pretty good and best of all it is plastic and will not ground out the sensor as recommended by Duane at Redrok.

I used some rigid foam to secure the sensor in the cover, works great. Be sure to orient the sensor as Duane describes. I also drilled 2 small holes in the bottom of the sensor for condensation drainage, here in Louisiana we have no shortage of humidity. I hope it works

Just a photo to show where I am with the install on this date. 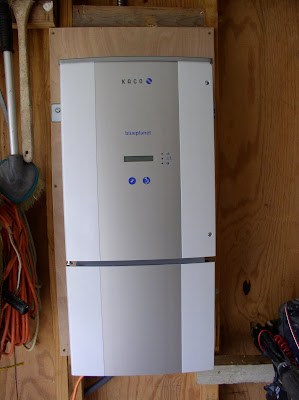
KACO 1502xi Inverter Installed per code in my shop.

KACO 1502xi Inverter Installed per code in my shop.
Nice and clean install with the wires fed from the back of the inverter so that no wiring will be seen (once the wall is sheetrocked.)

I wanted a clean mount and I utilized the posterior mounting holes in the inverter. Nice and clean.

Just a view of the wiring fed through the ground to the panels.

Doing what I do the best! Dig with a shovel.
Today I was off work and was able to accomplish a lot of the installation of the grid tie solar tracker. Check out the photo's especially the sensor cover that I made. I think it is pretty cool, I have no idea if it works or not yet.
Sunday, September 19, 2010
Sensor and Actuator


I purchased a sensor/controller from Redrok.com. Duane is always prompt in answering my questions. I ordered a 24 volt linear actuator for the movement.
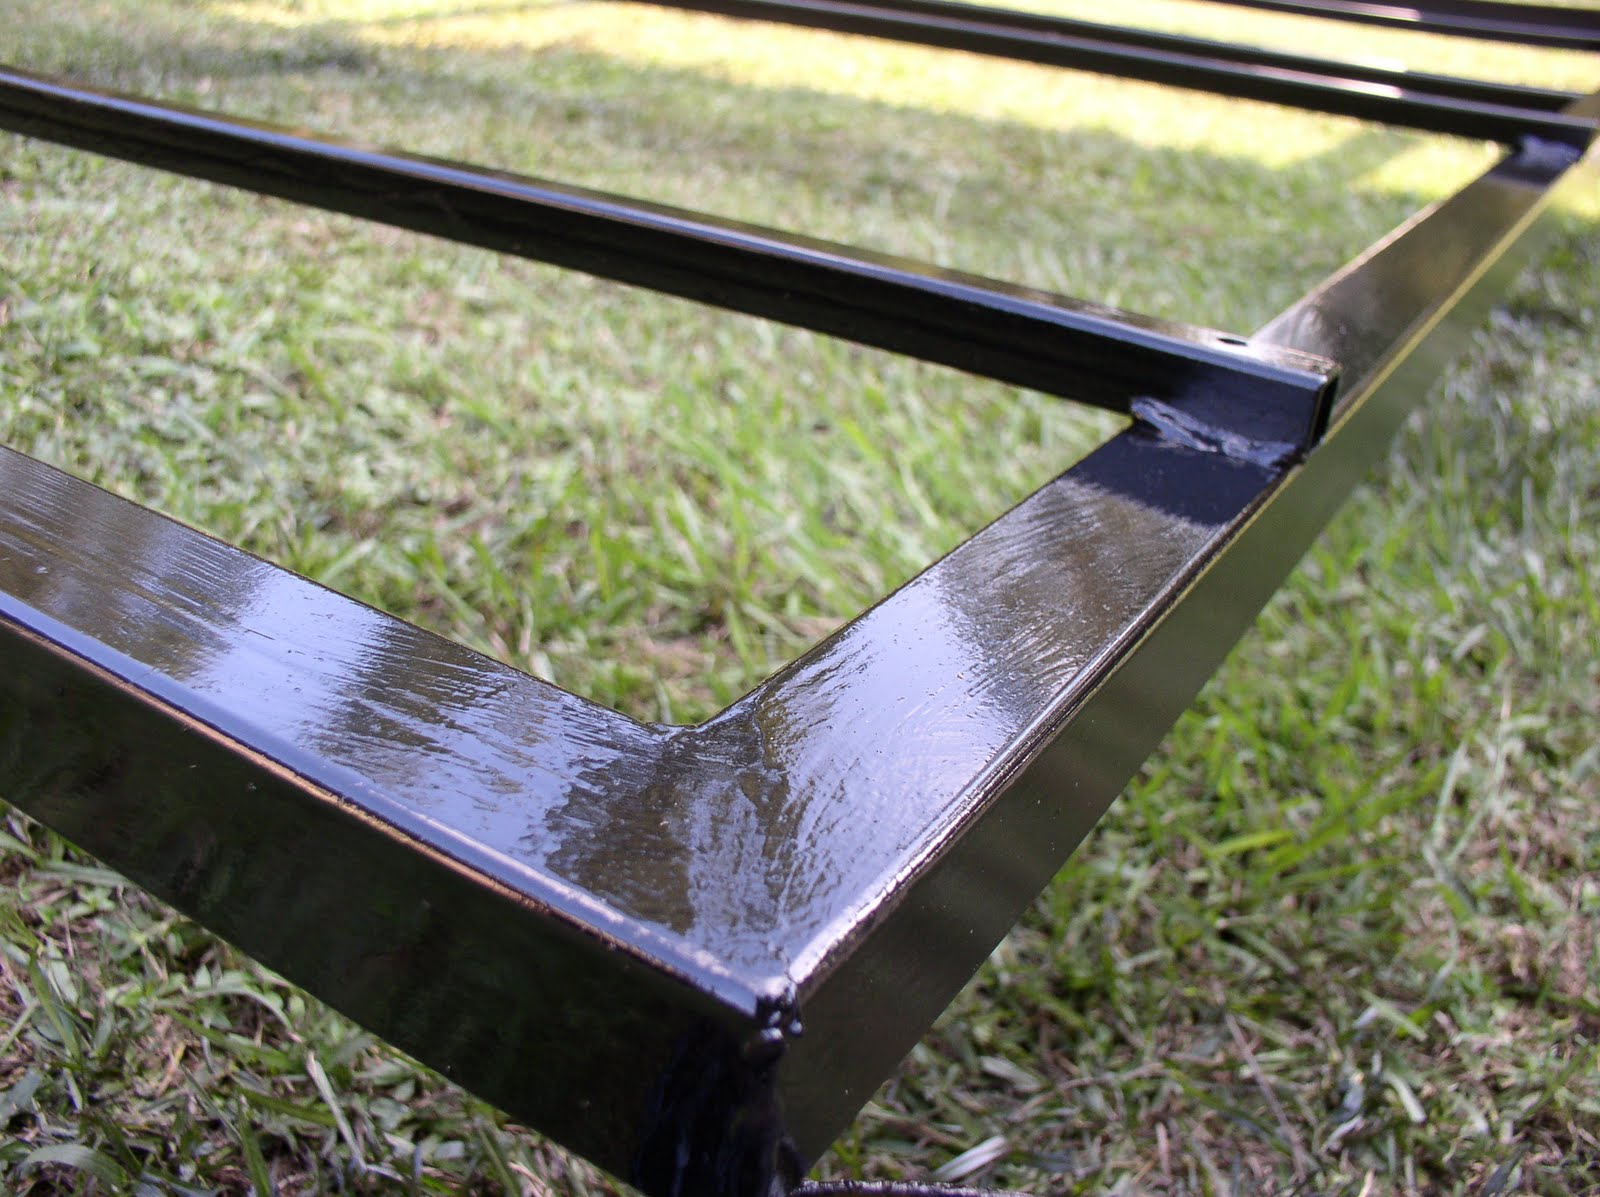
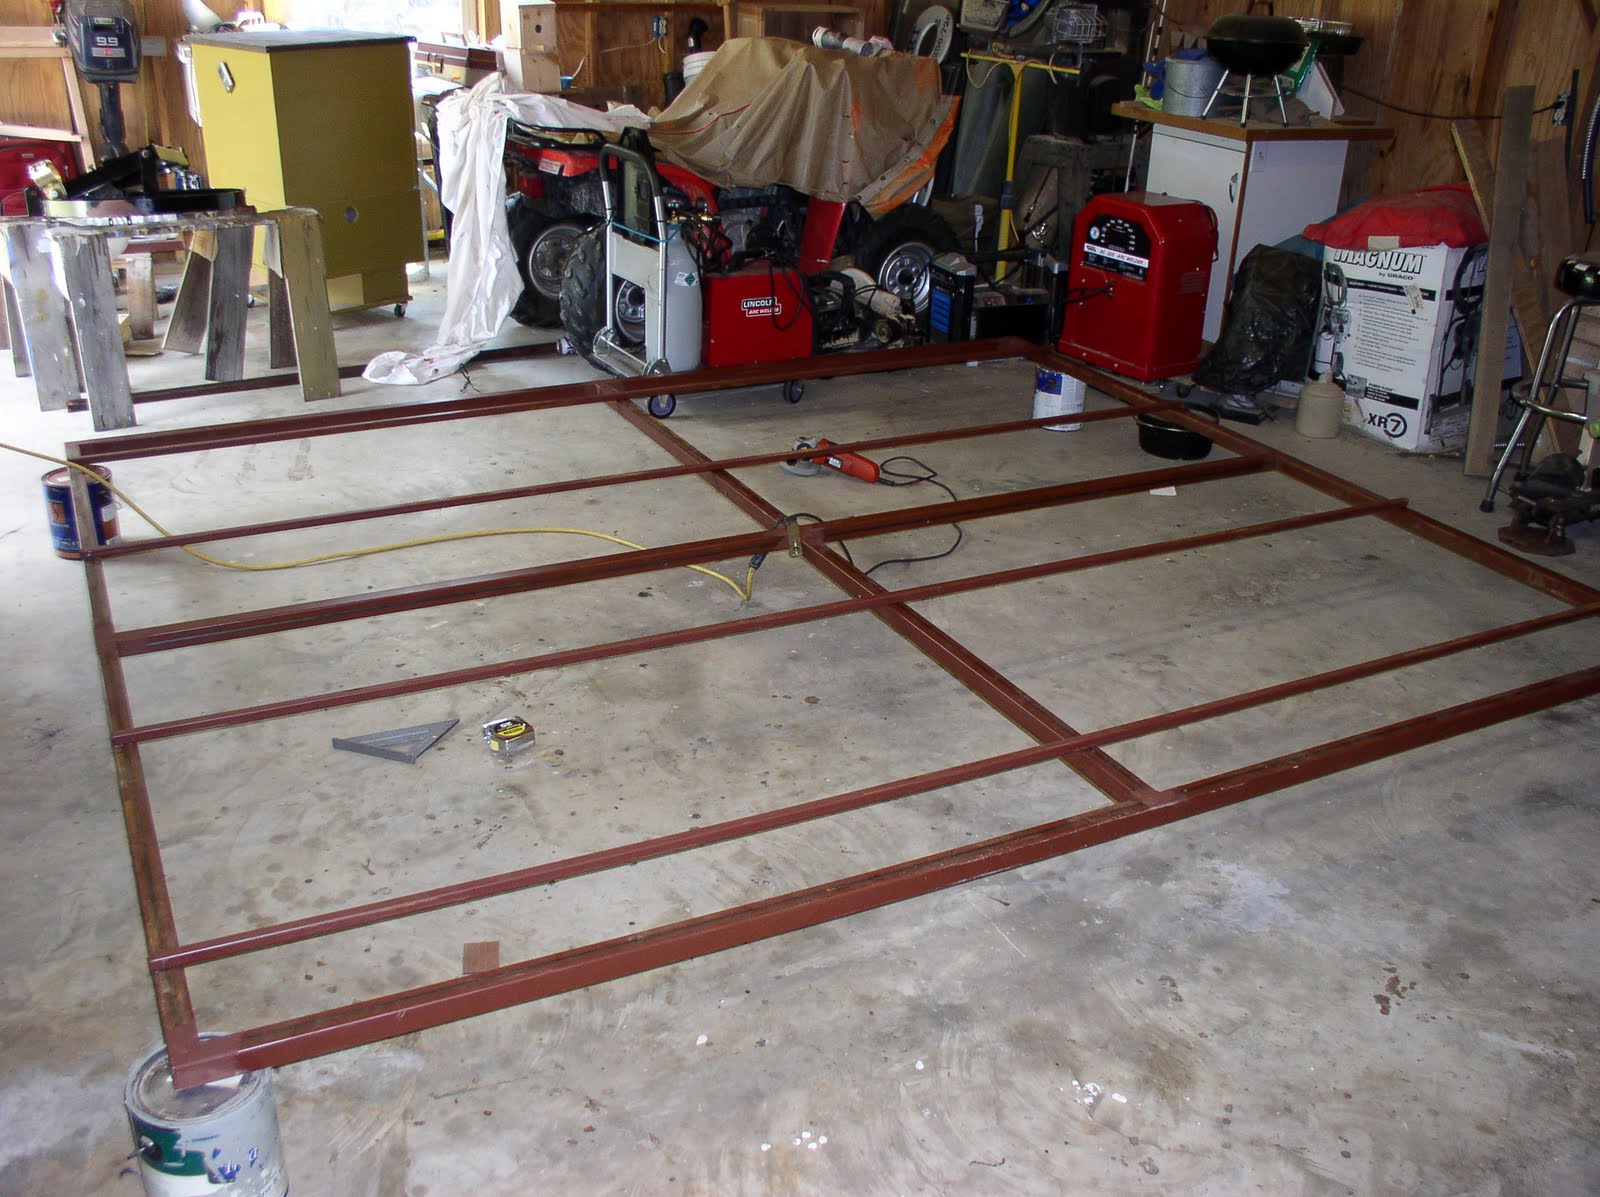
Installing the Frame


Ok I had to devise a rope and pully system to install the frame on top of the pole. It worked pretty good though.


Solar Tracker Build Project 2010

The pole is mounted 5 feet below the surface.

This is a 4 inch pipe about

1/4 inch thick.

Ok, The roof mount has served me well. I now want to build a solar tracking mount, pole mount. I have researched this for the past 4 months and have decided on the following. 6 200 watt GE Panels, Kaco Inverter, Pole and frame mount designed and welded by myself. This will be a 1200 watt grid tie system and will give me a total of 6.24 KW total along with my roof mounted panels.
Subscribe to:
Posts (Atom)