Friday, September 24, 2010

Good Work Today

I decided to make my own sensor/controller so I came up with this idea, I do not know if it works or not so don't duplicate this until I test it. Basically it is a 4x4x4 junction box, ($10.00 at Home Depot). I wanted a curved lens so I cut a piece of my acrylic and placed it in the oven at 250 degrees for about 10 min. The sides were supported but not in the middle. It bowed in the middle like you see in the photo. It was super easy and worked fine.

I traced the radius of my bowed acrylic and cut it out on my bandsaw. I was careful to leave some screw contact boss in each corner.

Hey what do you know, that looks pretty good and best of all it is plastic and will not ground out the sensor as recommended by Duane at Redrok.


I used some rigid foam to secure the sensor in the cover, works great. Be sure to orient the sensor as Duane describes. I also drilled 2 small holes in the bottom of the sensor for condensation drainage, here in Louisiana we have no shortage of humidity. I hope it works


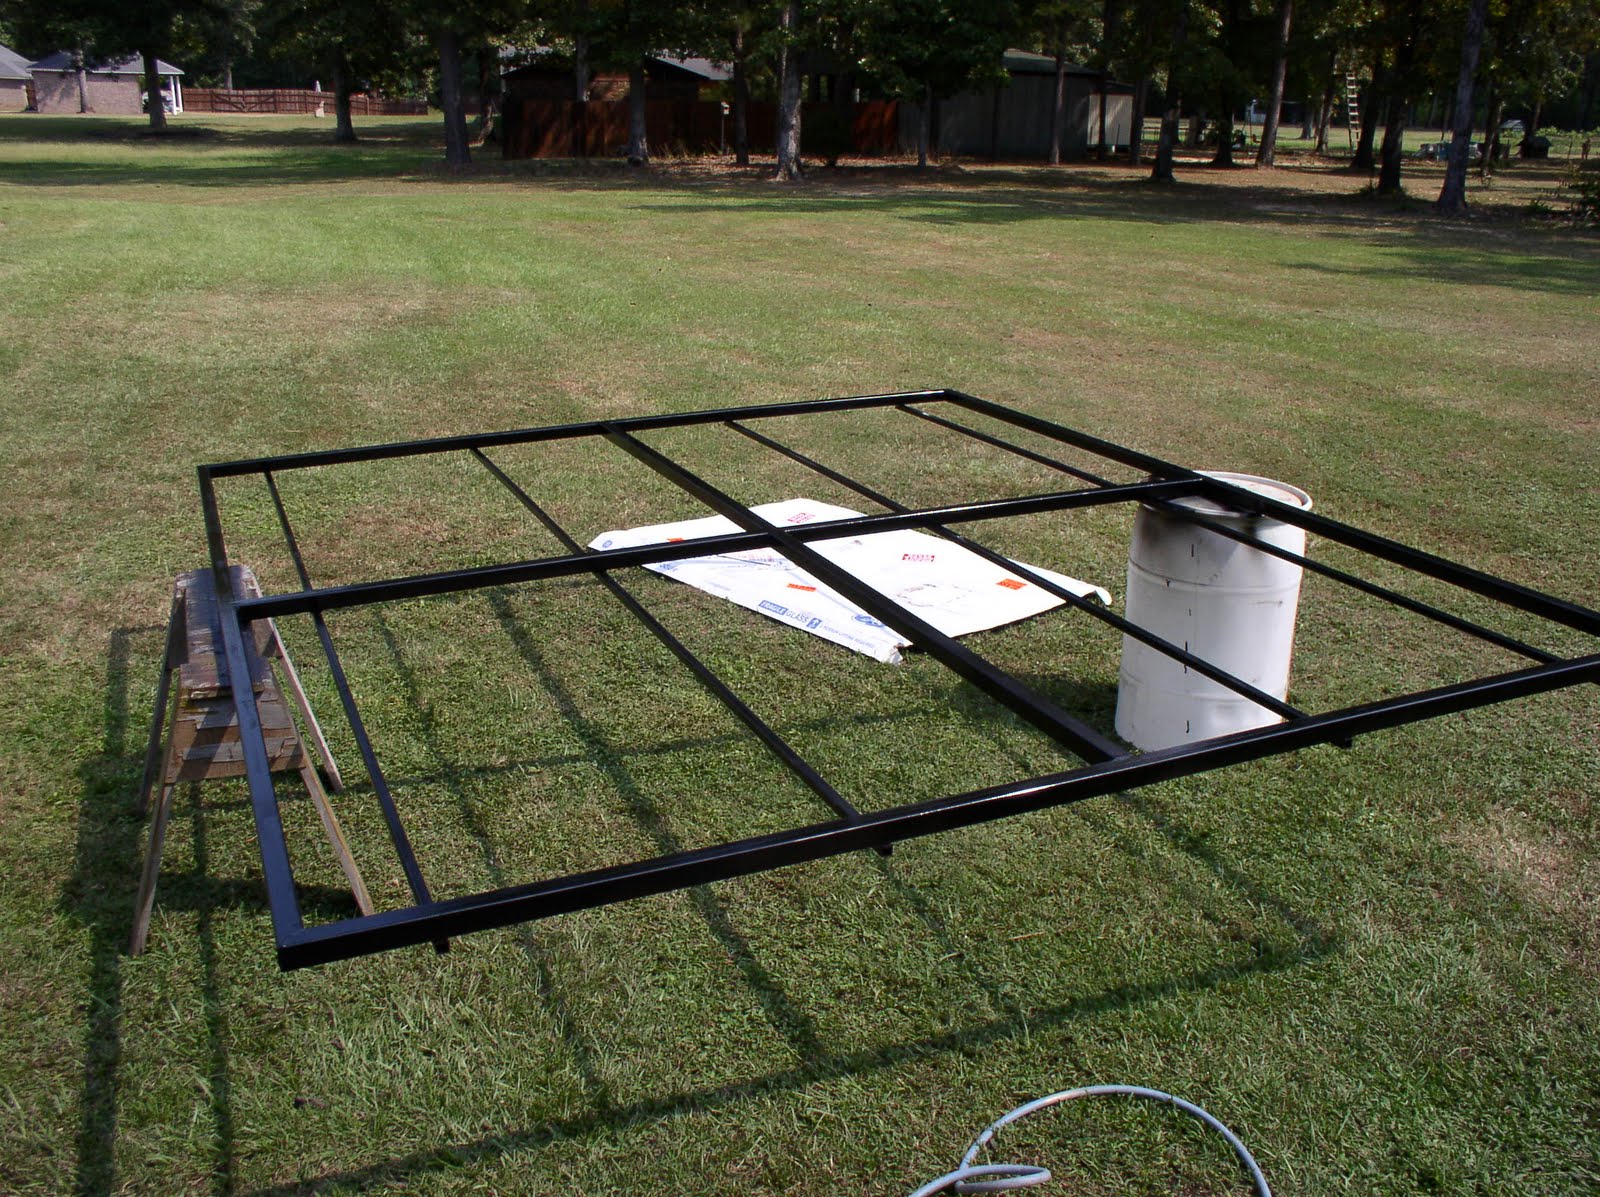
Just a photo to show where I am with the install on this date.
KACO 1502xi Inverter Installed per code in my shop.


Nice and clean install with the wires fed from the back of the inverter so that no wiring will be seen (once the wall is sheetrocked.)


I wanted a clean mount and I utilized the posterior mounting holes in the inverter. Nice and clean.


Just a view of the wiring fed through the ground to the panels.


Doing what I do the best! Dig with a shovel.


Today I was off work and was able to accomplish a lot of the installation of the grid tie solar tracker. Check out the photo's especially the sensor cover that I made. I think it is pretty cool, I have no idea if it works or not yet.

Sunday, September 19, 2010

Sensor and Actuator


I purchased a sensor/controller from Redrok.com. Duane is always prompt in answering my questions. I ordered a 24 volt linear actuator for the movement.

Installing the Frame


Ok I had to devise a rope and pully system to install the frame on top of the pole. It worked pretty good though.

Frame Build


This is some photo's of the frame that I made to hold the solar panels.

Solar Tracker Build Project 2010


The pole is mounted 5 feet below the surface.
This is a 4 inch pipe about
1/4 inch thick.
Ok, The roof mount has served me well. I now want to build a solar tracking mount, pole mount. I have researched this for the past 4 months and have decided on the following. 6 200 watt GE Panels, Kaco Inverter, Pole and frame mount designed and welded by myself. This will be a 1200 watt grid tie system and will give me a total of 6.24 KW total along with my roof mounted panels.

Tuesday, March 30, 2010

Electric Bill March 2010

The temps have been milder now in March. I was surprised to find that my total electric bill was $17.40. I have never seen an electric bill that low.

The panels produced 436 Kwh from Feb 20 to March 19. We did not use much electricity with the milder temps. Electricity consumption was 604 Kwh during that same time. No problems with the panels or any part of the system. I am quite pleased with the results.

Monday, March 29, 2010

29.77 Kwh

The days are getting longer and today the meter read a total of 29.77 Kwh. Not too bad. I am still waiting for the landmark 30 kwh in one day. So far I have had no problems with the system, no maintenance, no issues, just making kw every day.